Need to add a website to Google Search Console but not sure where to start? This step-by-step guide walks you through creating a console account, connecting your site, and passing the ownership check—all in plain language that anyone can follow.
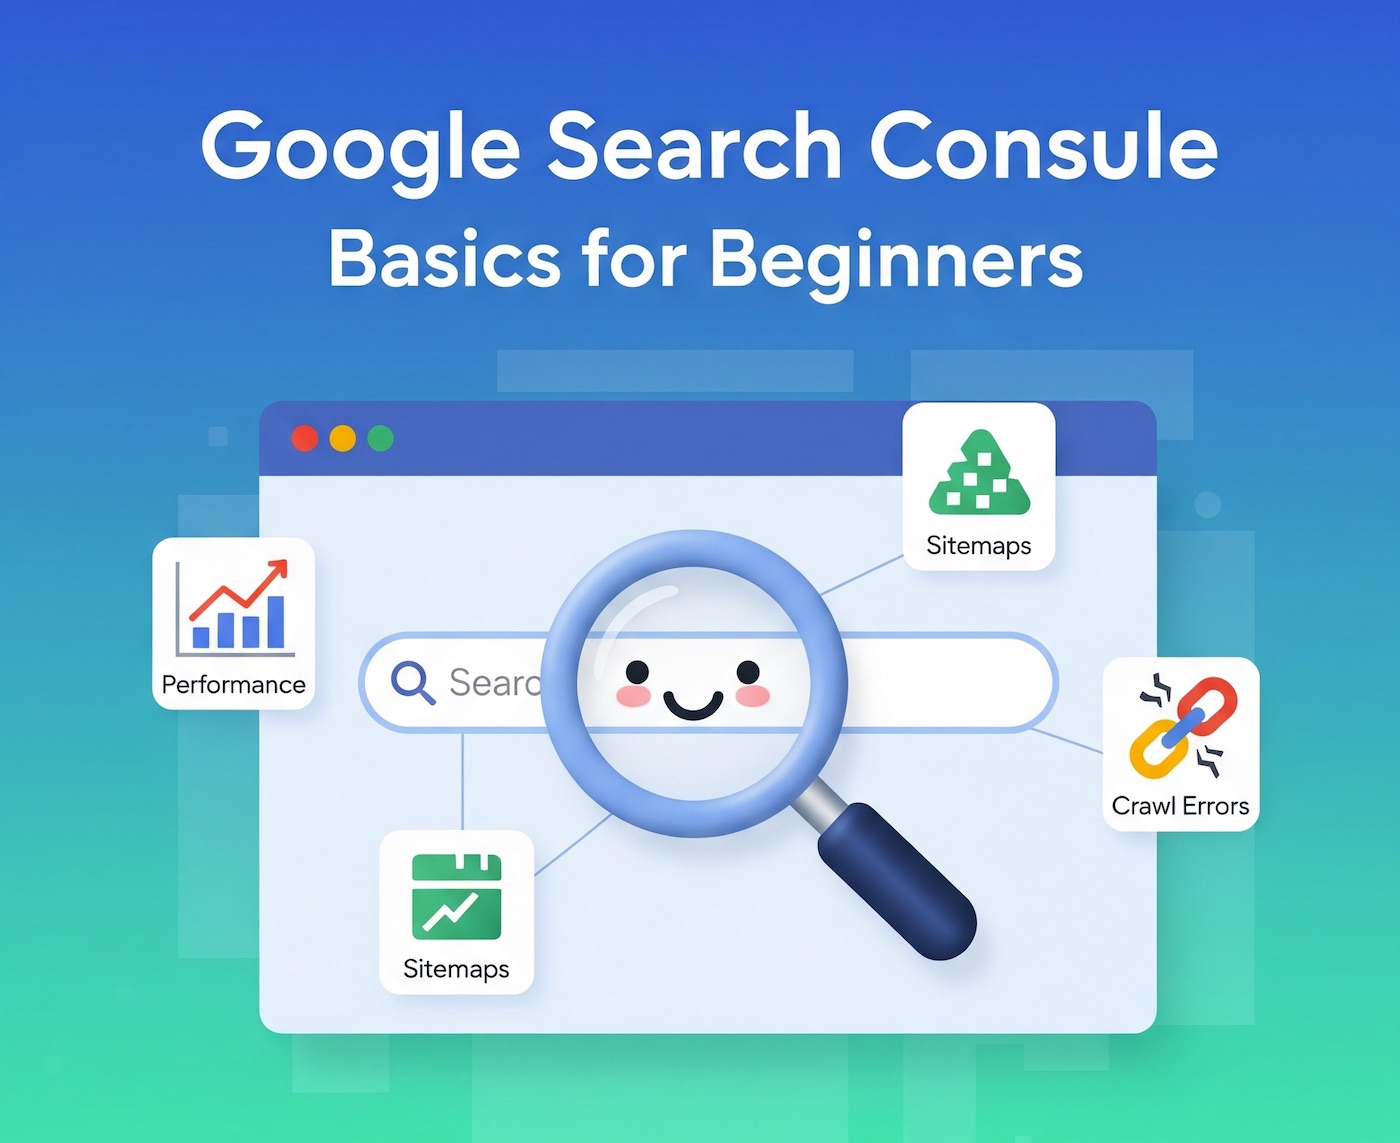
Why You Need Google Search Console
Google Search Console (GSC) helps you see how Google views your site. Once connected, you can:
- Track clicks, impressions, and average position for every page.
- Spot indexing errors before they hurt traffic.
- Submit sitemaps and request faster crawls.
- Identify mobile-friendliness and Core Web Vitals issues.
Step 1 – Create or Sign In to a Google Account
If you already use Gmail, YouTube, or Google Docs, you can skip ahead. If not, go to accounts.google.com/signup and make a free Google account in under two minutes.
Step 2 – Open Google Search Console
Visit search.google.com/search-console and click the blue “Start now” button. You will land on a welcome screen that asks you to choose a property type.
Step 3 – Choose a Property Type
Google gives you two ways to connect a website to Google Search Console:
- Domain (recommended) – Tracks all subdomains (
www,m, etc.) and both HTTP and HTTPS with one setup. - URL prefix – Tracks only the exact URL you enter. Use this only if you have a very specific folder or subdomain to measure.
Step 4 – Verify Site Ownership
Google needs proof that you control the site. Pick one of these easy methods:
- DNS TXT record (best for Domain properties) – Copy the TXT token that GSC provides. Log into your domain registrar (GoDaddy, Namecheap, etc.) and add a new TXT record. Save, then return to GSC and click “Verify.”
- HTML file upload – Download a small HTML file from GSC and upload it to your site’s root folder. Press “Verify.”
- HTML meta tag – Copy a meta tag and paste it inside the
<head>of your homepage, then verify. - Google Analytics / Tag Manager – If you already have GA or GTM installed with the same Google account, choose the corresponding method and click “Verify.”
Tip: DNS records can take a few minutes to update. If verification fails, wait five minutes and try again.
Step 5 – Review Your New Property
Once verified, GSC loads an empty dashboard. Data usually appears within 24 hours. Meanwhile, you can:
- Submit your
sitemap.xmlunder Sitemaps. - Use URL Inspection to ensure key pages are indexable.
- Set your preferred “Main domain” (e.g.,
https://www.example.com) in Settings → Domain properties.
Step 6 – Grant Access to Team Members
Go to Settings → Users and permissions and add teammates by their Google email. Choose “Full” for editors or “Restricted” for viewers only.
Step 7 – Next Steps for Better SEO
Now that your account is ready, explore these starter tasks:
- Check the Performance report once data arrives. Sort by “Clicks” to see top-performing pages.
- Inspect any URL showing “Crawled—currently not indexed” in the Pages report and improve content or internal links.
- Monitor Core Web Vitals and fix pages marked “Poor” to enhance user experience.
FAQ
How many sites can I add to Google Search Console? As many as you own—there is no hard limit.
Does connecting my site improve rankings? Not directly, but the insights help you fix issues that do affect rankings.
Final Thoughts
By following these steps, you have learned how to create a Google Search Console account, add your website, and verify ownership. Log in weekly to spot errors early and keep your SEO on track.